Before starting with our tutorial, please make sure you follow installation instructions from this post (check requirements).
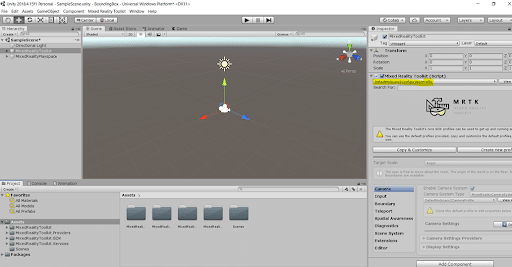
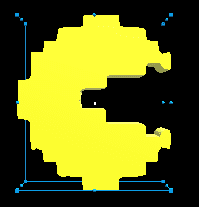
Once you have your project ready, you will see something like this:
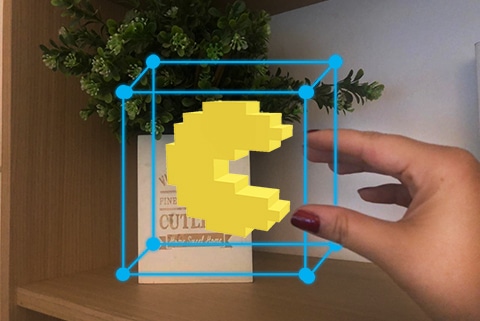
What is a Bounding Box and when is it needed?
Basically, if you want to transform objects in Mixed Reality, this is the standard interface (BoundingBox.cs) that Microsoft provides. It allows you to scale, rotate and display proximity.
How can I Transform an object?
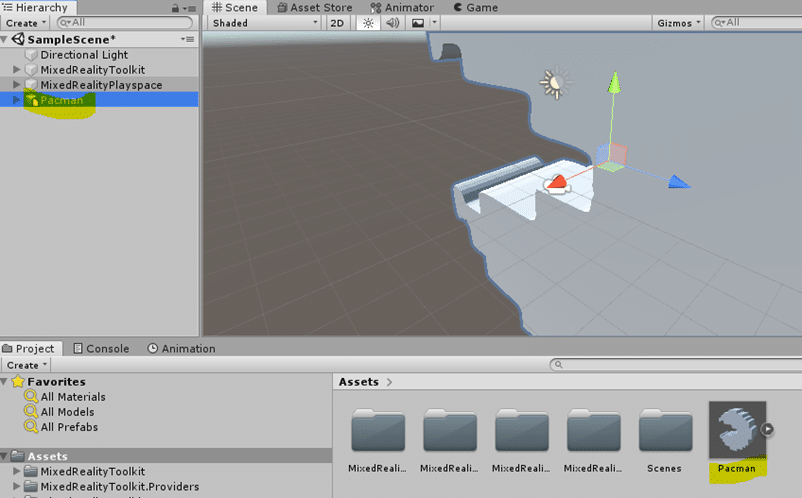
- Go to Asset> Import new Asset> Pacman> Import
We will use this object to start learning how the bounding box works.

2. You will see the object in your Asset folder under Project. Drag and drop it to your scene.
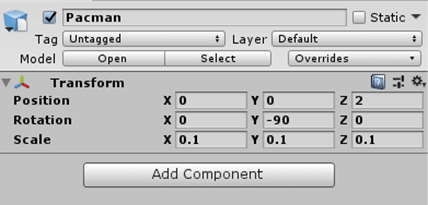
3. Select the Pacman object in your scene, then go to Inspector and change the values to the following:
Let’s add some color to it.
4. Go to Asset > Create> Material. Name the material Yellow. Select the material in your Asset folder then go to Albedo property in the Inspector panel and set it to #FFF400. Finally drag and drop the material on top of your Pacman object located in your scene.

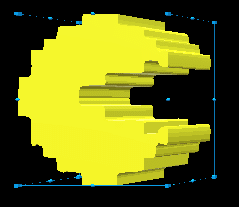
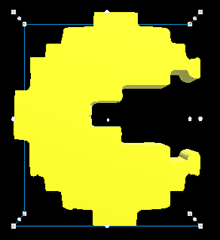
5. With the Pacman Object selected, go to your Inspector Panel > Add Component > Box Collider. Repeat this step and Add Component Bounding Box.
Ok, let’s check the properties that we have:
- Target Object: This specifies the object that you want to manipulate. If it’s empty then it will work with the default owner object.
- Bounds Override: Sets a box collider from the object for bounds computation.
- Activation Behavior:
- Activation On Start: If you want the bounding box to become visible once the scene is started.
- Activate By Proximity: If you want the box to become visible when the articulated hand is close to the object.
- Activate By Pointer: It activates if it is targeted by a hand-ray pointer.
- Activate Manually: You have to activate it through script by setting the BoundingBox.Active to true.
- Scale minimum: Minimum allowed scale
- Scale maximum: Maximum allowed scale
- Box Display: These are visualization options.
- Flatten Axis > Flatten Auto: The script will disallow manipulation along the axis, which results in a 3D bounding box.
- Handles: You can assign a material and prefab to override the handle style.
- Events:
- Rotate Started: Fired when rotation starts
- Rotate Ended: Fired when rotation ends
- Scale Started: Fires when scaling ends.
- Scale Ended: Fires when scaling ends.
- Proximity: Shows or hides the animation based on the distance to the hands.
- Proximity Effect Active > Enable
- Handle Medium Proximity: Distance first step scaling
- Handle Close Proximity: Distance second step scaling
Handles Styles
- Default Hololens 1 style:
2. Hololens 2 style:
If you want to apply the Hololens 2 style:
A. Click on the little dot located to the right of the Inspector Panel > Handle > Handle Material and search for two of the default materials like this:
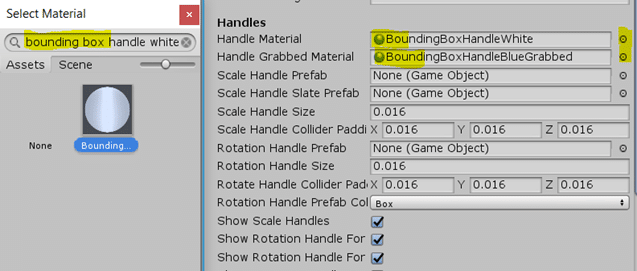
note:
The Scale Handle prefab is available if you install Unity.HoloLens2.GettingStarted.Tutorials.Asset.2.1.0.0.
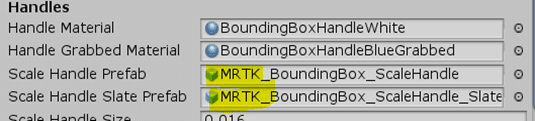
B. Set the Scale Handle Prefab and Slate to the following:
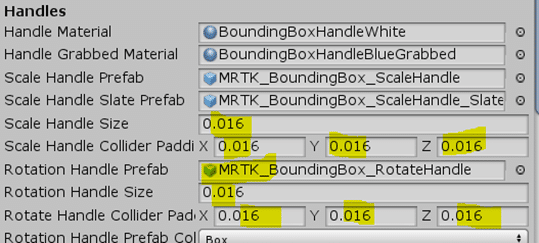
C. Finally, set the following properties:
Ok, we have set properties for the box, but we cannot move it yet. So, how do we manipulate it? We have to combine it with a Manipulation Handler (manipulationhandler.cs). This handler supports single-hand and two-hands manipulation.
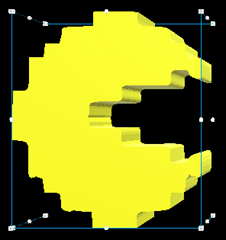
6. Select Pacman in your scene and go to the Inspector panel > Add Component > Manipulation Handler.
Let’s understand the properties we have here:
- Host Transform: Transform that will be dragged; if it is empty, it will transform the object (this property is assigned to Pacman in our example).
- Manipulation Type: Specifies if the object can be manipulated with one, two, or one and two hands.
- Allow far manipulation: If you want to allow manipulation with pointers.
- Two handed manipulation type: This will indicate how the object can be transformed
- One hand rotation mode near: How the object will behave if manipulated with one hand.
- One hand rotation mode far: How objects will behave if manipulated by control at a distance.
- One hand rotation mode options: How the object will rotate if grabbed with one hand
- Maintain original rotation: Does not rotate objects when moved.
- Maintain rotation to user: Maintains rotation x/y to the user perspective.
- Gravity aligned maintain rotation to user: Maintains object’s original rotation to the user but makes the object vertical.
- Face user: Ensures the object always faces the user.
- Face away from user: Faces away from the user, useful for panels, slates.
- Rotate about object center: Only works for articulated hands/controller.
- Rotate about grab point: Only works for articulated hands/controller.
- Release behavior: When an object is released, specify a physical movement behavior.
Requires a rigid body component. - Constraints on rotation: Specifies which axis the object will maintain when rotated.
- Use local space for constraint: Constraints to world space axis or local space axis.
- Constraints on movement:
- Smoothing active: Smoother animation.
- Smoothing amount: One hand.
Great! Now we have our project ready!